CS348b Final Project: Rendering Realistic Night Skies
Patricia (Sha Sha) Chu and Darren Lewis
Original Project Proposal
Introduction
Daytime scenes have been successfully rendered for quite some time, but it is only
recently that steps have been taken to accurately render nighttime scenes. With the
availability of illumination data from sources such as Nasa's Clementine Project,
it is now possible to create accurate reflection and illumination models of certain
celestial objects.
The Moon, Sun, and Earth
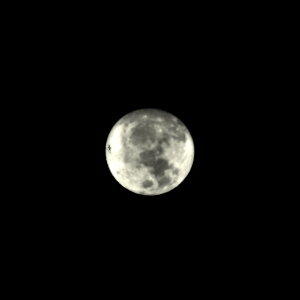
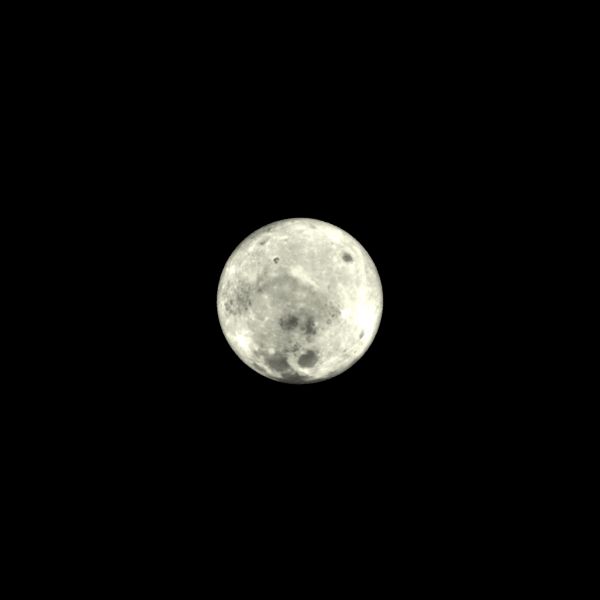
Purty moon!
The moon was the most successful endeavour for our night sky rendering. We
created the moon as follows:
- Make a new BRDF class subclassed off BRDF which has the characteristics of
the measured reflectance of the moon. One of the main difficulties in modeling
the moon is the fact that although the moon is approximately spherical, it
certainly does not look like a lit sphere in the sky - instead, it appears to be a disk. Since we wanted to render the moon as realistically as possible, we kept it as a sphere and relied on the BRDF to account for its disk-like appearance. Technically, the moon has no "limb-darkening", meaning it is as bright on the edges as in the center. The moon BRDF has three pieces - a retrodirective function, a scattering function, and an albedo. We used an albedo map obtained from the Nasa Clementine mission to modulate the BRDF.
- Make a new material called "moonsurface" which takes the albedo map as a parameter and creates a surface with the moonbrdf as its only BSDF.
- Calculate the precise astronomical positions of the moon, earth, and sun based on classical astronomical formulas.
- Write a program which takes a date, time, and location, and outputs the position of the moon, earth, and sun corresponding to the above variables.
- The moon is modeled as a sphere with material "moonsurface", the sun is modeled as a pointlight, and the earth is either modeled as a black body sphere (for rendering eclipses), or a point light (for casting earth shine on the dark part of the moon).
Modeling Atmospheric Scattering
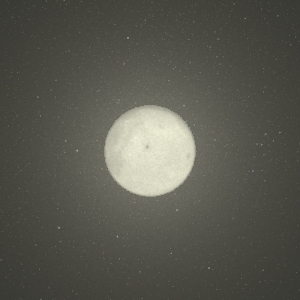
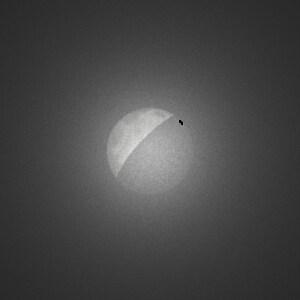
One component to creating a realistic-looking moon is to model the glow around the moon
due to atmospheric scatter of the reflected light.
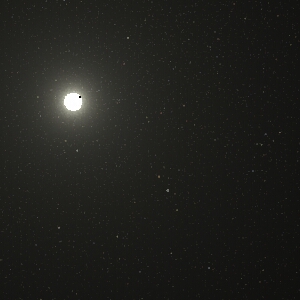
A photograph of the moon, showing the
scattering of the light around it.
Since we already had a photon mapping integrator implemented for lrt, we first attempted to
model the scatter using Henrik Wann Jensen's volume photon map method for modeling
light transport through
participating media from his photon mapping book. However, this proved to not only be quite
complicated, but also unnecessary, since the photon mapping method is most useful for rendering
phenomena that demonstrate multiple scattering, such as volume caustics, which we would not
have in our scenes. Therefore, we opted for the simpler method of ray marching, described
in the Jensen book as an acceptable way to simulate single scattering. Ray marching involves
dividing the ray into small segments, and assuming that the light and properties of the medium
are constant for that segment. To calculate the radiance for each segment, we used the
Schlick phase function with k=0.1.
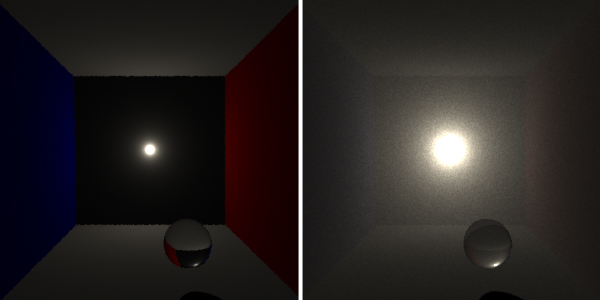
A Cornell box test of light scattering. On the
left is the image rendered with no scattering, and on the right with scattering.
In order to simulate light scattering from the moon, we made the moon a spherical area light.
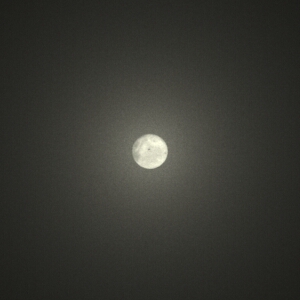
A full moon rendered with atmospheric scattering.
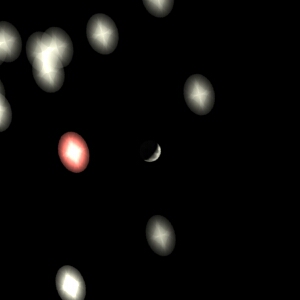
Stars
Raytracing individual stars is impractical, so we used a method similar to the one described in
the Jensen paper[1], which involves blending a star map with the rendered image. The stars are
probably the least physically accurate aspect of our project, but the rendered images turned out
better than expected. Our basic method was to intercept the final tiff writing code, and write out
the star map into the background of the image. In images rendered without scattering, the
background is transparent, i.e. it has an alpha value of 0. So in this case, we simply write the star
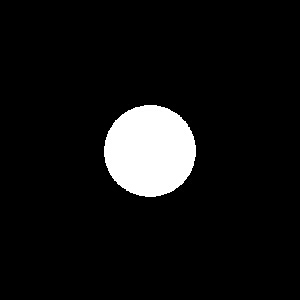
map for all pixels that have an alpha of 0. For images with scattering, we must first create a mask
image to define what is background and what is not. This is done by rendering the image with no scatter
such that all pixels with alpha = 0 are black and alpha > 0 are white. Then at render time of the
scatter image, we blend in the star map for all pixels where the mask image is black.
The moon and stars, with no scattering
|
|
|
The mask
|
Moon + haze + stars
|
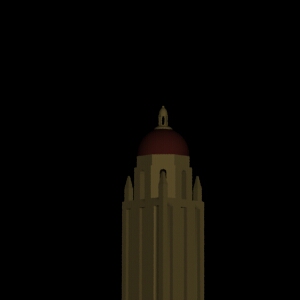
Modeling Hoover Tower
Hoover Tower was modeled with polygons in Maya, triangulated, and then exported to RIB format.
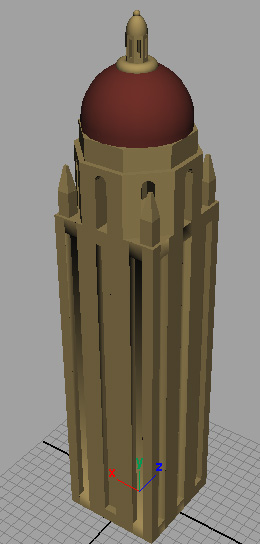
Hoo Tow, as the cool kids say
Results
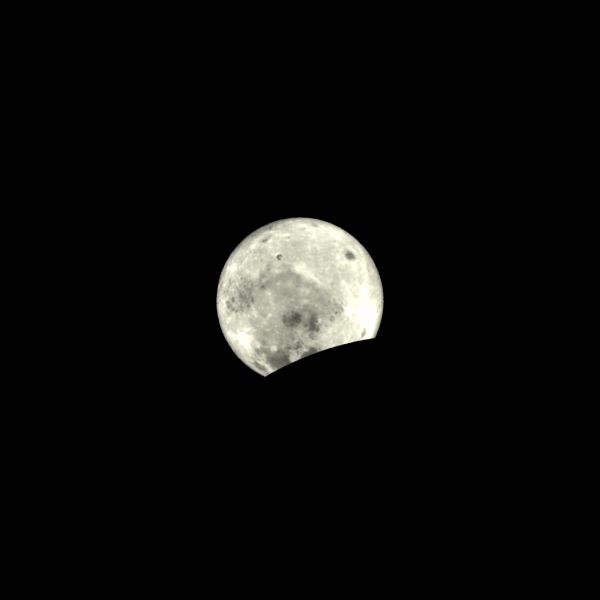
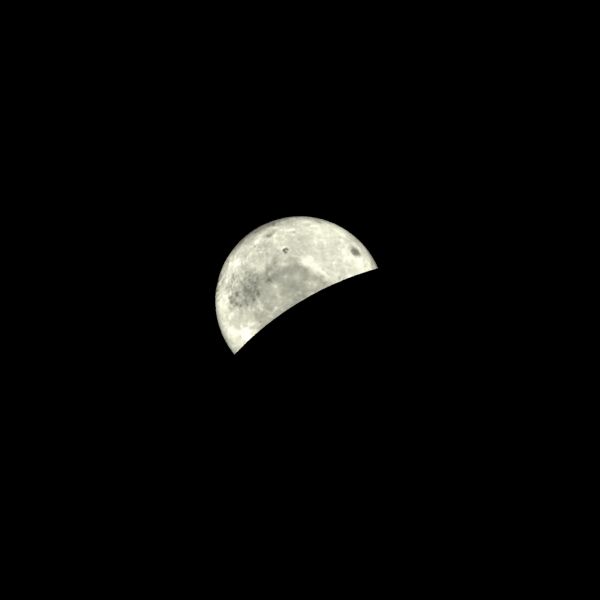
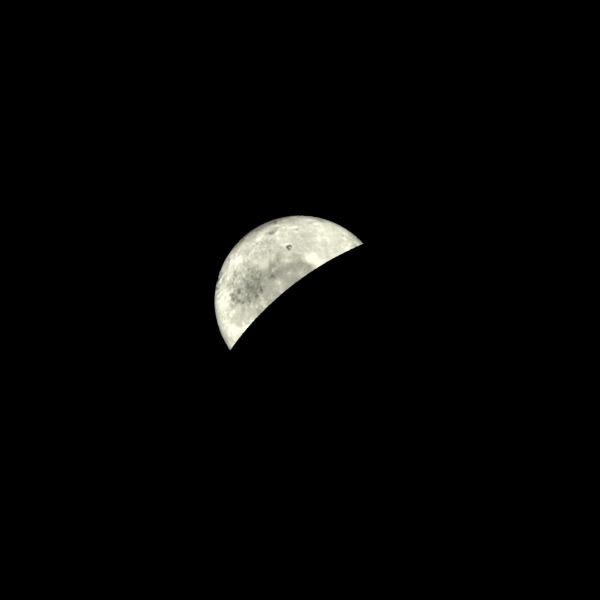
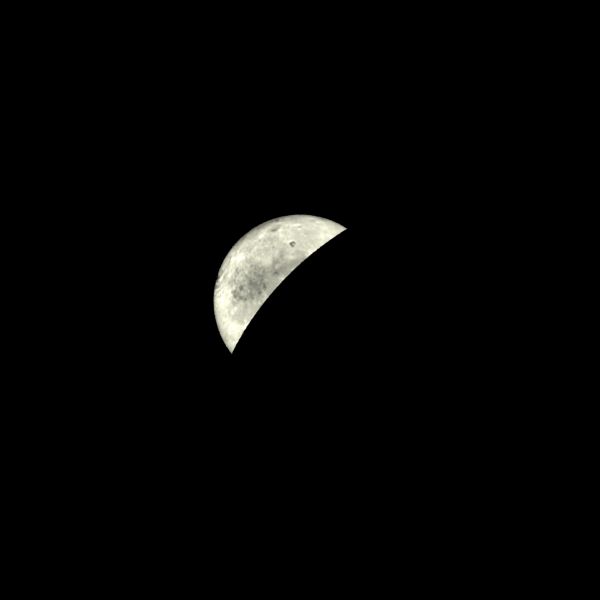
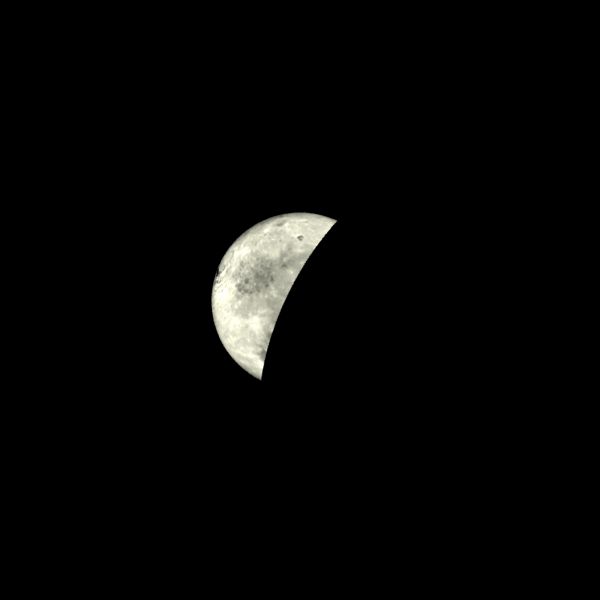
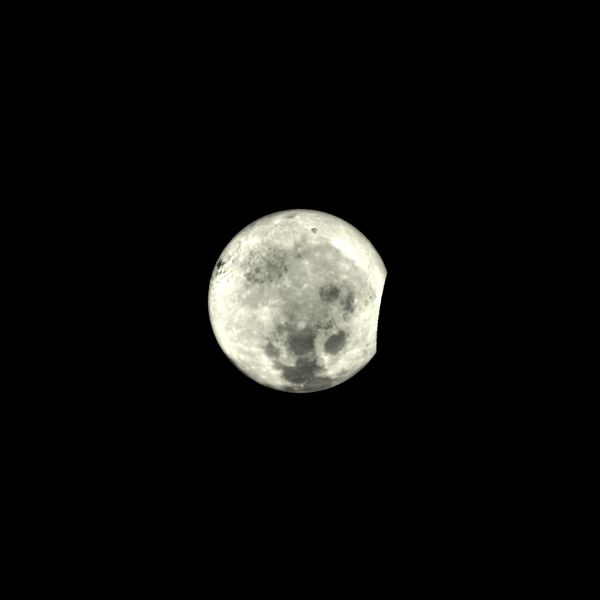
Here is a sequence of the lunar eclipse from May 15/16th, viewed from Palo Alto. Click on an image for a larger picture.
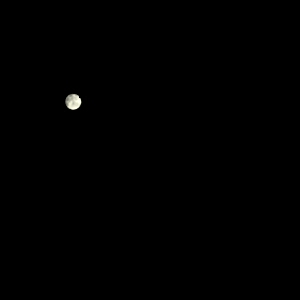
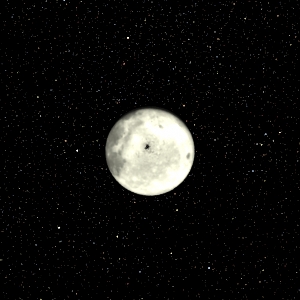
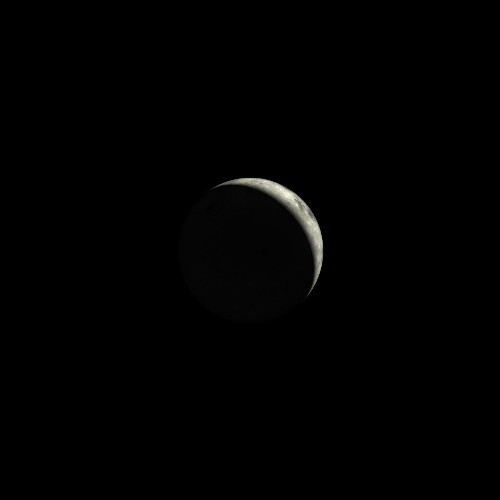
Here is a picture of a waning moon with a starry background.
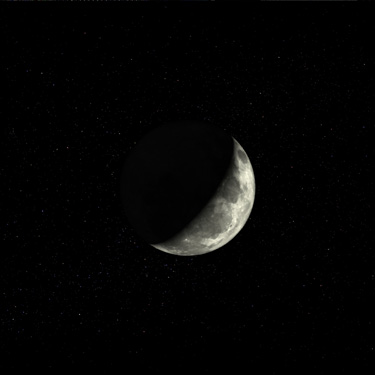
Here is a picture of a crescent moon with no stars. Notice the earthshine lightly illuminating the dark part of the moon. This is the moon that was in the sky on the day both of our intrepid night renderers were born.
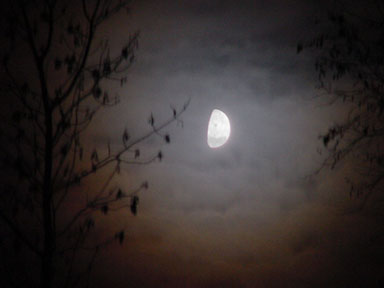
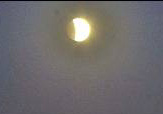
A lunar eclipse plus glow. Although it may not seem very realistic, compare to this photograph:
What Worked
- The moon. I'm really happy with the final images of the moon. People asked if they were photographs.
- The program to make animations of the moon moving across the sky. Unfortunately, we didn't have any scenes to animate. See below.
- Atmospheric scattering. It makes the moon renderings look more like you would see if you stepped outside at night, rather than if you looked through a telescope.
- Hoover Tower model. It's relatively simple, but it looks quite good. However, it couldn't really be used in any of our scenes. Again, see below.
What Didn't Work
We ran into a number of problems along the way.
- The first problem with the moon dealt with numerical precision - since we're dealing in astronomical units (1AU = 1.496e11m), it's very easy to lose precision along the way. We overcame this problem by changing all calculations to double floating point numbers, and also scaling down everything by a factor of 10^8.
- "Clouds? No problem." I decided that clouds would be a nice touch to
my moon images. I tried implementing volume rendering with density grids. After spending 10 hours one day and ending up with a working knowledge of Ken Perlin's Noise() function and some dysfunctional cloud-like ellipsoids, I decided to give up on the cloud endeavor and save it for a rainy day. I kept the source code just for fun.
- Soft shadows on the lunar eclipse. I tried to use photon mapping to get soft shadows on the moon for the lunar eclipse, but that would have required the indirect photons to bounce off something and land on the moon, but there were no other objects in the environment for this to happen.
- The dance of the magical constants. Once atmospheric scattering was implemented, the moon would often look
washed out. It often took a good deal of tweaking to get an image to "look" right. It was not based on any
physical data.
What We Would Have Liked to Do
Aurora borealis. Northern lights would have been really cool to add to the pictures, although the one paper about rendering this phenomena was not that intuitive, and also presented an image-based approach which didn't work into the renderer too well.
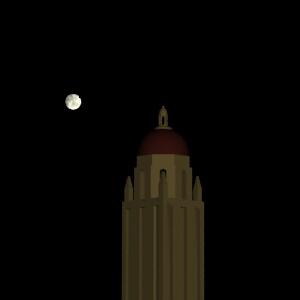
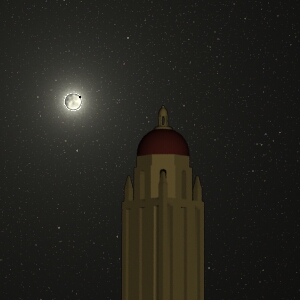
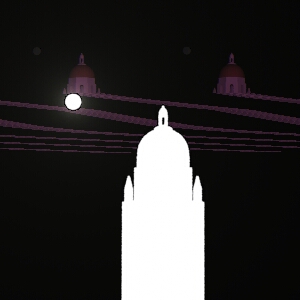
Getting the moon and Hoover Tower in the same scene. For some strange reason, our composed scene with the moon behind Hoover Tower had impossible lighting situations. The earth's surface was correctly dark, but the tower was being illuminated by the sun, impossible being that the earth was in the way of the sun's rays. Curious indeed.
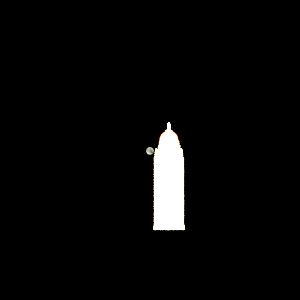
The overly bright Hoover Tower.
Hacks Galore
In a last-ditch effort to create a scene with the moon and Hoover Tower, we present to you, one of the
hackiest images ever created with lrt. It consists of no less than 7 separate rendering and compositing steps.
First, we created images of the moon and the tower rendered separately. We had to use different sun intensities
for each image for the reason described above. Next, we rendered the moon with scattering. After this, we created
as mask of the moon. The first step was to composite the
moon and tower renders. We did this by rendering the moon image with the moon mask, compositing the tower image into
the background of the moon image. This gave us the moon and the tower in one image. We created a second mask with
this image. After this, we rendered the moon/tower image with the moon/tower mask, and composited the
glow/stars image into the background of the moon/tower image to give us this glorious final image.
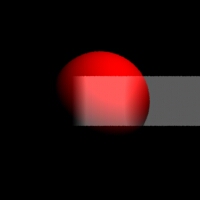
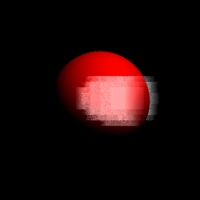
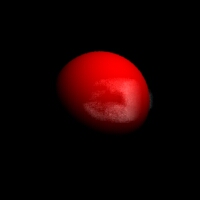
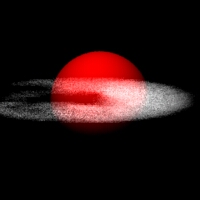
Bloopers
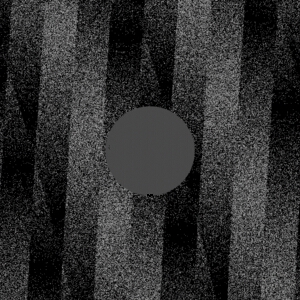
An early attempt at atmospheric scattering.
A failed attempt at stars.
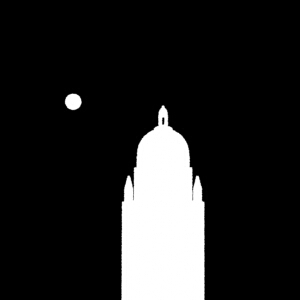
Hoover Tower on LSD.
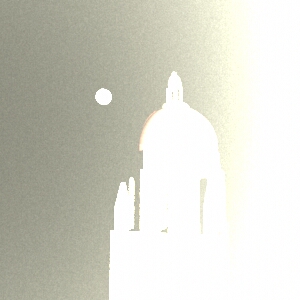
What Hoover Tower might look like if the sun exploded.
References